Print Bleed Guard
Learn what print bleed is, why white lines happen on printed photo album edges, and how Spreadu catches risky full-bleed photos before export.
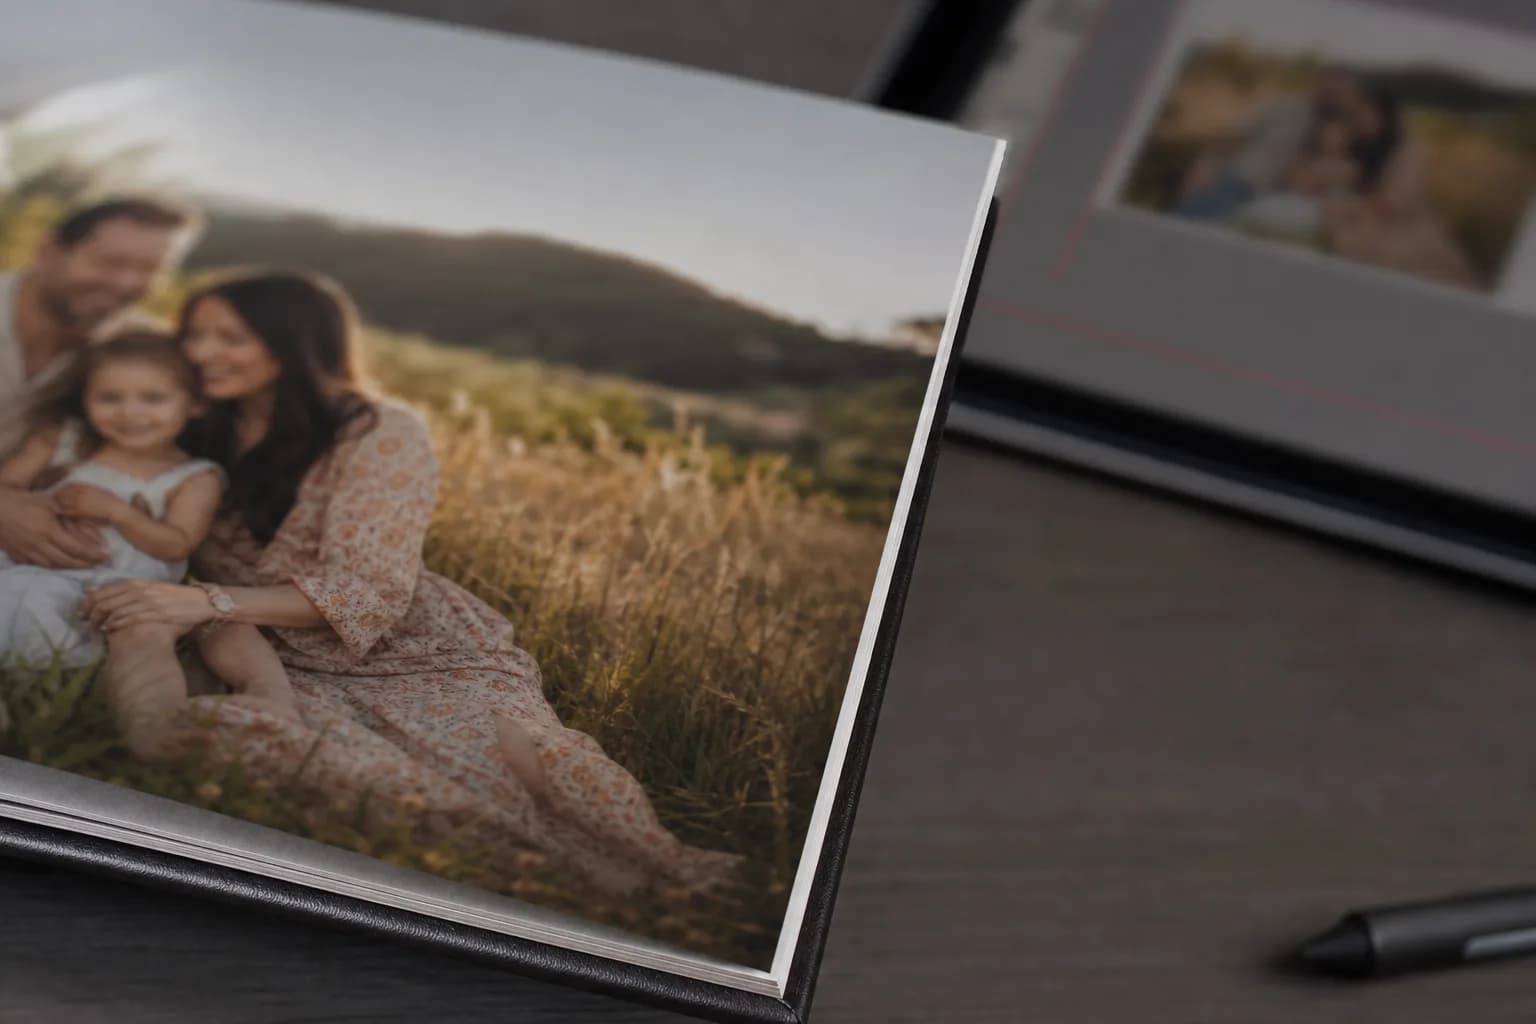
A printed album can look perfect in the editor and still come back with a thin white line on the edge. Not because the photo was wrong. Not because the lab did anything dramatic. Usually, it is much simpler: the photo looked edge-to-edge on screen, but it did not extend far enough past the final cut.
That extra photo area is called bleed. The lab prints it, then trims it away. When there is enough bleed, the finished page looks clean. When there is not enough bleed, a tiny shift during trimming can expose blank paper right where the photo was supposed to run beautifully to the edge.
How Spreadu Helps Before Export
Spreadu's Print Bleed Guard watches the outside edges of your album while you design. When a photo reaches the page edge but does not continue far enough into bleed, the editor marks that risky edge before you export the album.
This is the useful moment: before the PDF is generated, before the files go to the lab, and definitely before your client is holding the finished album.
The red edge warning gives you a chance to fill the photo to bleed, move it back inside the page, or leave it alone when the white space is intentional.
What To Do When You See A Red Edge
If the photo is meant to feel full-page, use Fill. Fill enlarges the photo enough to cover the bleed area, so a small trim shift does not reveal a white strip at the edge.
If the photo is not meant to bleed, move it back inside the page or keep the white margin intentional. The warning is not judging your layout. It is asking you to make a print decision before the album leaves the editor.
Understanding Bleed In Print
Bleed is one of those print terms that sounds more complicated than it is. A photo album spread is printed slightly larger than the final page size. The lab then cuts the paper down to the final size. The extra printed area outside that final cut is the bleed.
You do not see bleed in the finished album when everything goes right. That is the whole point. Bleed exists so the lab can trim the page cleanly without exposing blank paper.
Trim, Bleed, And The Final Page Edge
The trim is where the page is cut. The bleed is the photo area that runs past that cut. A full-bleed photo should not stop at the trim line. It should continue beyond it, into the part the lab will remove.
That small extra area is what protects the finished album. Paper can shift a little. Cutting can move a little. The album can still come out clean because the photo keeps going past the edge.
The Risky Middle
For photographers, the easiest rule is this:
- Stop before the edge when you want a clean white margin.
- Run past the edge when you want a full-bleed photo.
- Almost touching the edge is the risky middle.
That risky middle is where a lot of white-line mistakes come from. The spread looks fine on screen because the photo appears close enough to the page edge. Print does not care about close enough. If the photo does not continue past the cut, there may be nothing there except blank paper.
What Missing Bleed Looks Like
Missing bleed is easy to explain after you have seen it once. It usually shows up as a thin white line on a printed album edge, or a small white corner where a photo was supposed to feel continuous.
White Line Along The Top Edge

A top-edge white line usually means the photo stopped too close to the trim instead of running past it into bleed.
This is the classic "it looked fine on my screen" problem. The photo may have been aligned right up to the visible edge in the editor, but the printed page needed a little more image beyond the cut. Without that extra area, the top edge has nowhere to hide a tiny trim shift.
White Line On The Outside Edge
Side-edge bleed mistakes are easy to miss during design and very easy to see in the finished album.
Outside edges are unforgiving because they sit right in the viewer's eye path. A thin white strip can make a strong full-page image feel unfinished, even when the rest of the spread is beautifully designed.
White Corner On A Layflat Spread

A white corner is the same print problem in miniature: the photo did not extend far enough past the cut.
Corners are where two risky edges meet. If the photo is supposed to run cleanly off the page, the top and side both need enough bleed. If one of them stops too early, the mistake may show up as a small white corner instead of a long white line.
Why Bleed Matters For Photo Albums
Photo albums are physical objects. That sounds obvious until software makes the page feel like a perfectly controlled rectangle. On screen, everything is still. In print, paper moves, blades cut, and tiny tolerances become visible when a dark photo is supposed to meet a clean page edge.
Bleed gives the lab room to do real-world trimming without hurting your design. It is not decorative. It is not an extra export checkbox for people who enjoy print jargon. It is the reason an edge-to-edge photo can still look edge-to-edge after the page is cut.
Without enough bleed, a full-edge photo can come back with a white strip, a tiny white corner, or a lab note asking for a corrected export. Print Bleed Guard exists so you catch that while the fix is still a quick decision, not a reprint conversation.
The Clean Rule To Remember
If you want white space, make it obvious. Pull the photo back and let the margin look intentional.
If you want the photo to run to the edge, let it run past the edge. That is what bleed is for.
The trouble starts when the photo almost reaches the edge. Spreadu flags that middle ground because it is the place where a beautiful album can pick up a tiny, annoying print mistake.
What Print Bleed Guard Is Not
Print Bleed Guard is not a composition rule. It does not mean every photo should fill the page, and it does not punish intentional white space. It only watches outside print edges where a photo looks like it wants to bleed but may not have enough image past the cut.
Safe Zone still protects faces, text, and important details from being cut too close. Gutter still protects the center of bound albums. Print Bleed Guard has one job: help edge-to-edge photos survive the trip from editor to paper.